How to Weave in Ends (Crochet and Knitting Method That Never Comes Undone)

Save it for later. We'll email you a link, no password.

Find it again on your phone or computer, with your finished steps ticked.

You tapped Save

Save this project for later

We'll email you a link, no password.

How to Weave in Ends (Crochet and Knitting Method That Never Comes Undone)

  • Your saved projects in one list
  • Your ticked steps on any device

Check your inbox for an email from us. Not there? Look in your spam folder.

  • 6 steps
  • 5:09 video
  • Difficulty: Easy
  • About 10 minutes
  • Crochet

Based on a video by Nicki's Homemade Crafts

Opens their YouTube channel

Steps written out by Crafting Step by Step · Published

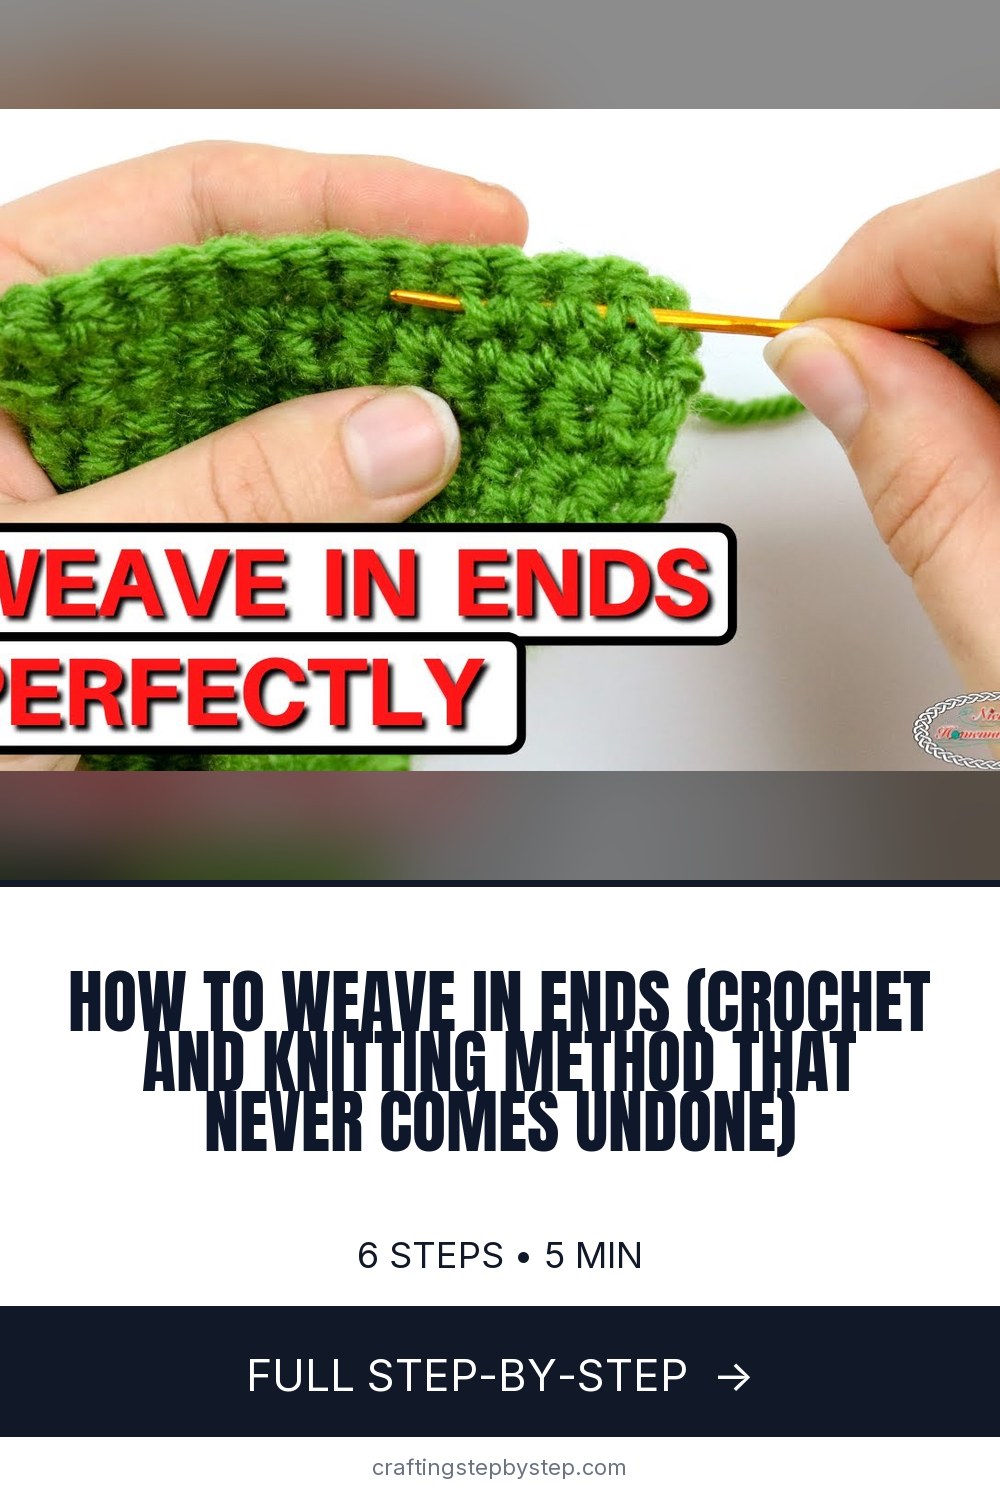
The finished result: How to Weave in Ends (Crochet and Knitting Method That Never Comes Undone)
Also in:Knitting

Weaving in ends is the step that decides whether your crochet or knit project holds up after years of wear or unravels in the first wash. Nicki from Nicki's Homemade Crafts shows two ways to do it. The first is fast and clean. The second takes a minute longer but is even stronger because you split the plies.

Both methods use the same tool kit and the same zigzag path through the fabric. They work the same on crochet stitches and on knit stitches, so save this one for every finished piece you make.

Free printable

Print the steps and supply list for this project

One page you can take to the table. Free with a free account, no password.

Get the free printable

What you'll need

Free, for this project

Get this checklist by email

  • All 3 tools and materials, with tick boxes
  • A link to print all 6 steps on paper, to keep by you while you craft

No password. The whole tutorial stays free on this page.

Quick answer

Two simple tapestry-needle methods to weave in yarn ends on crochet or knit pieces so the tails stay hidden and never come undone. An easy project: about 10 minutes. You need 3 things, including tapestry needle / yarn needle and scissors. The 6 steps start with gather Your Needle, Scissors, and Finished Piece, run the Needle Through the Tunnel of Stitches, reverse Direction and Weave Back, drop a Row and Zigzag Again and trim Long, Then Stretch the Fabric.

Step-by-step guide

6 steps, about 5 minutes. Tap a picture to jump to that step. Your progress saves automatically.

Tick each step off as you go.

  1. Step 1: Gather Your Needle, Scissors, and Finished Piece

    Watch this step · 0:39
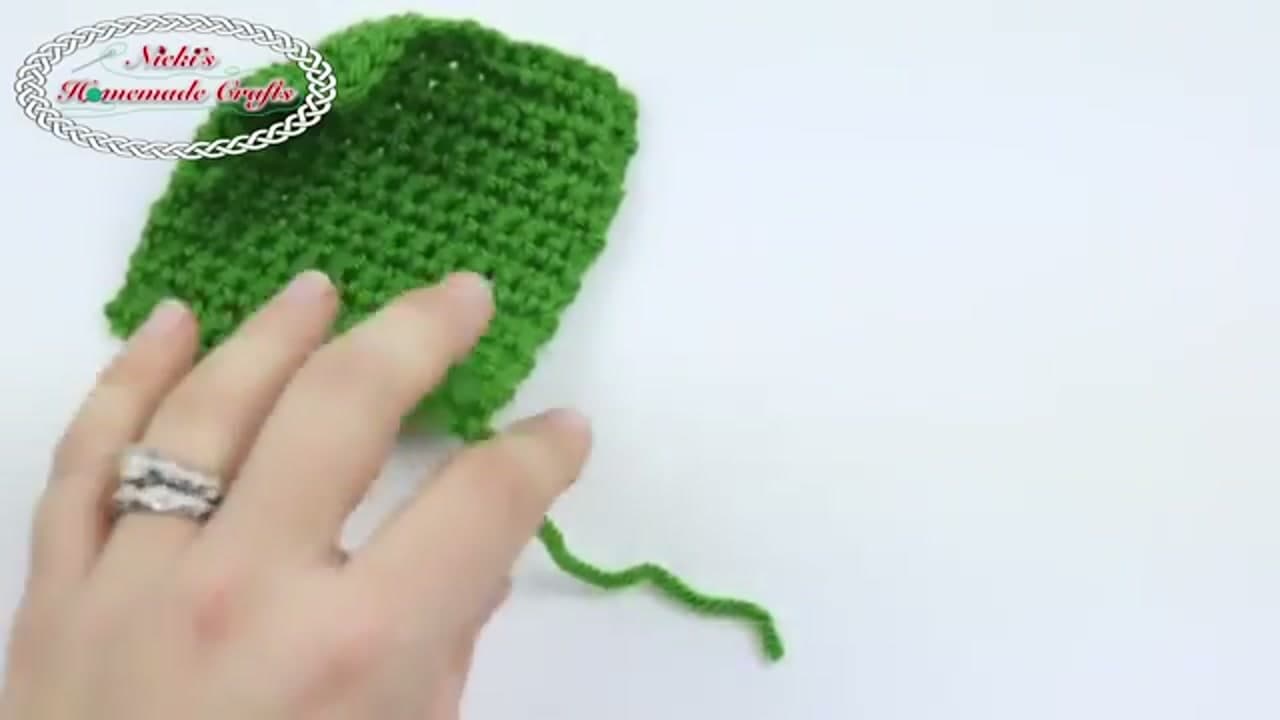
    Grab your finished crochet or knit piece with the loose tail still attached, your tapestry needle, and a pair of small scissors. A blunt-tip tapestry needle is what you want here because it slides between yarn strands instead of splitting them.

    Thread the tail onto the needle and take a look at where your stitches sit. You can see the little V shapes on the front and the bumps on the back. Those are the paths you will follow to lock the end in place.

    Tip:

    If your tail is shorter than about four inches, leave a longer tail next time. A short tail will not give you enough length to do all four passes.
    Back to all steps

  2. Step 2: Run the Needle Through the Tunnel of Stitches

    Watch this step · 0:52

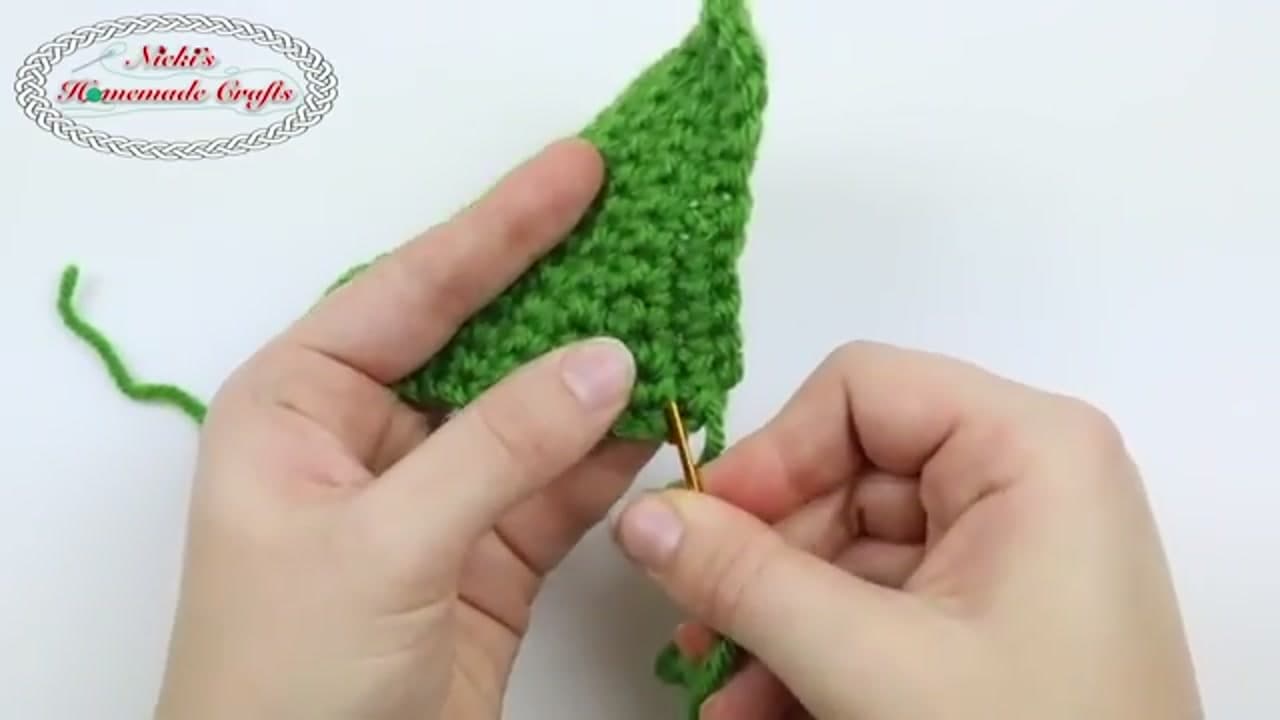
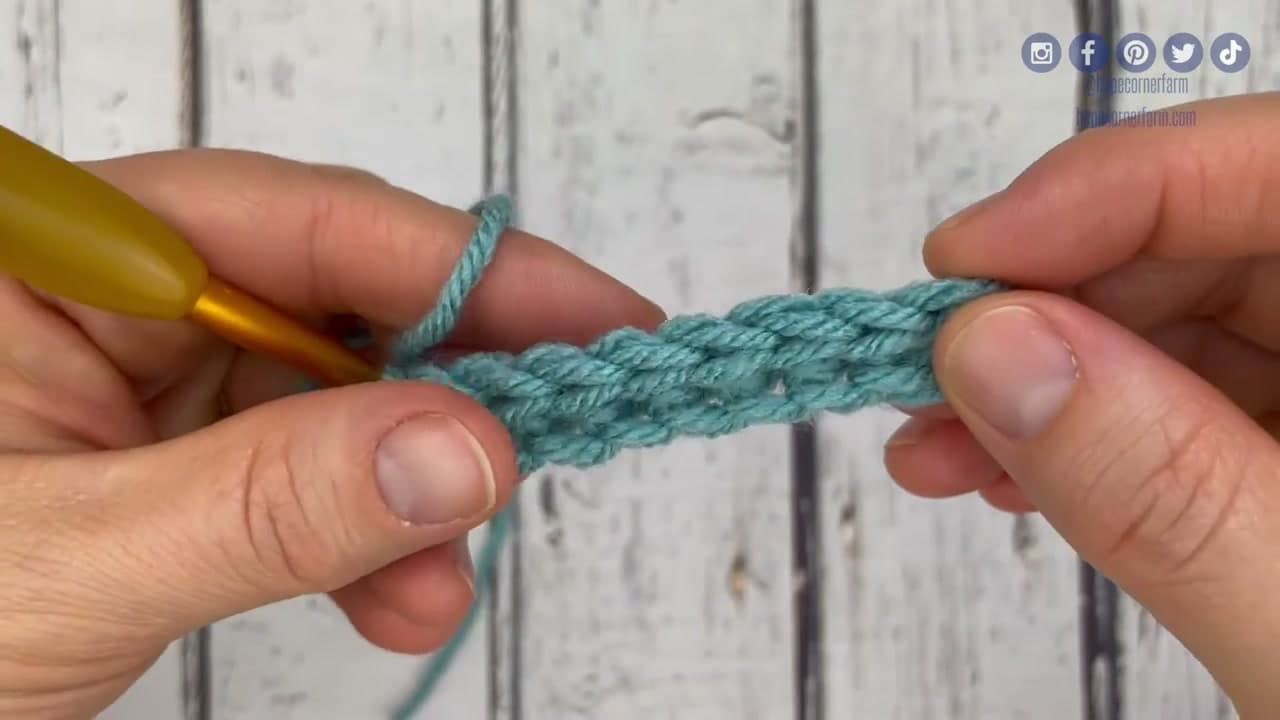
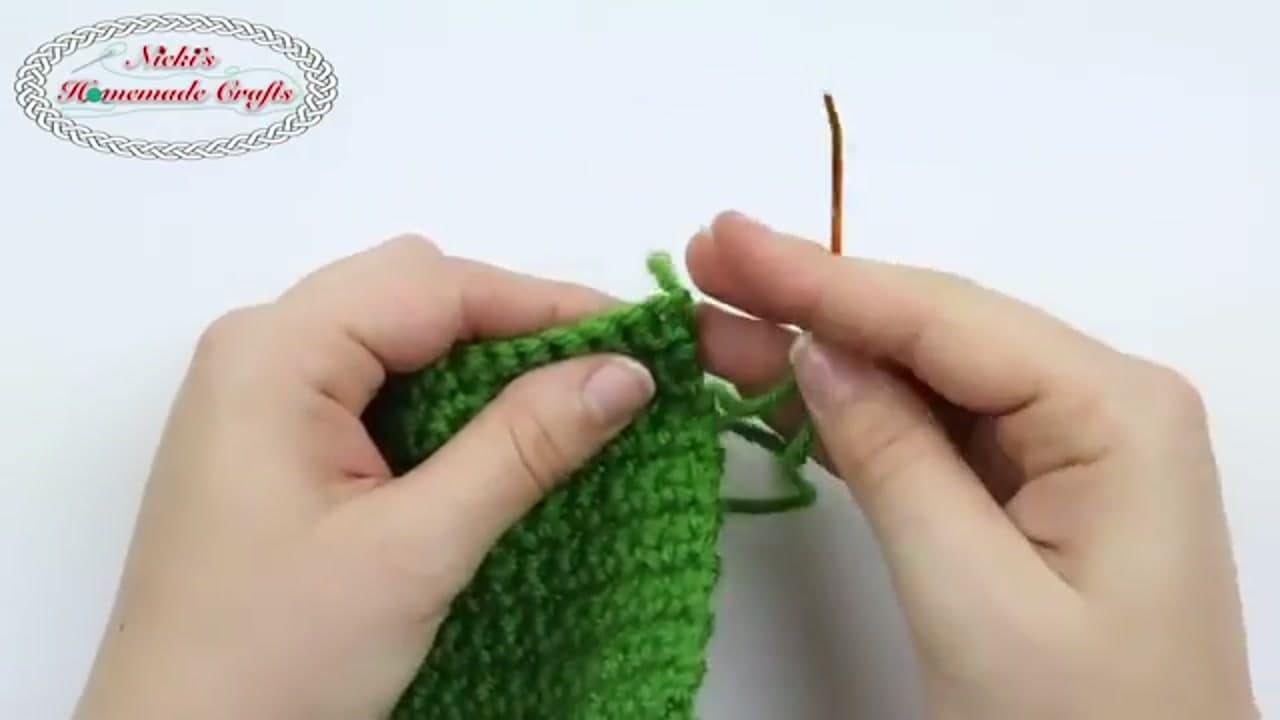
    Slide the needle into the body of a stitch so it travels through what Nicki calls the tunnel. You are going under one stitch and out a few stitches over, staying inside the fabric instead of stabbing across the top.

    If your piece has color changes, stay inside the matching color so nothing peeks through on the front. Pull the yarn through, but stop before it tightens. Tugging too hard will pucker the fabric and leave a dent on the right side.

    Tip:

    Aim for three to four stitches per pass. Any longer and the yarn ends up sitting on the surface instead of inside the fabric.

    Back to all steps

  3. Step 3: Reverse Direction and Weave Back

    Watch this step · 1:32

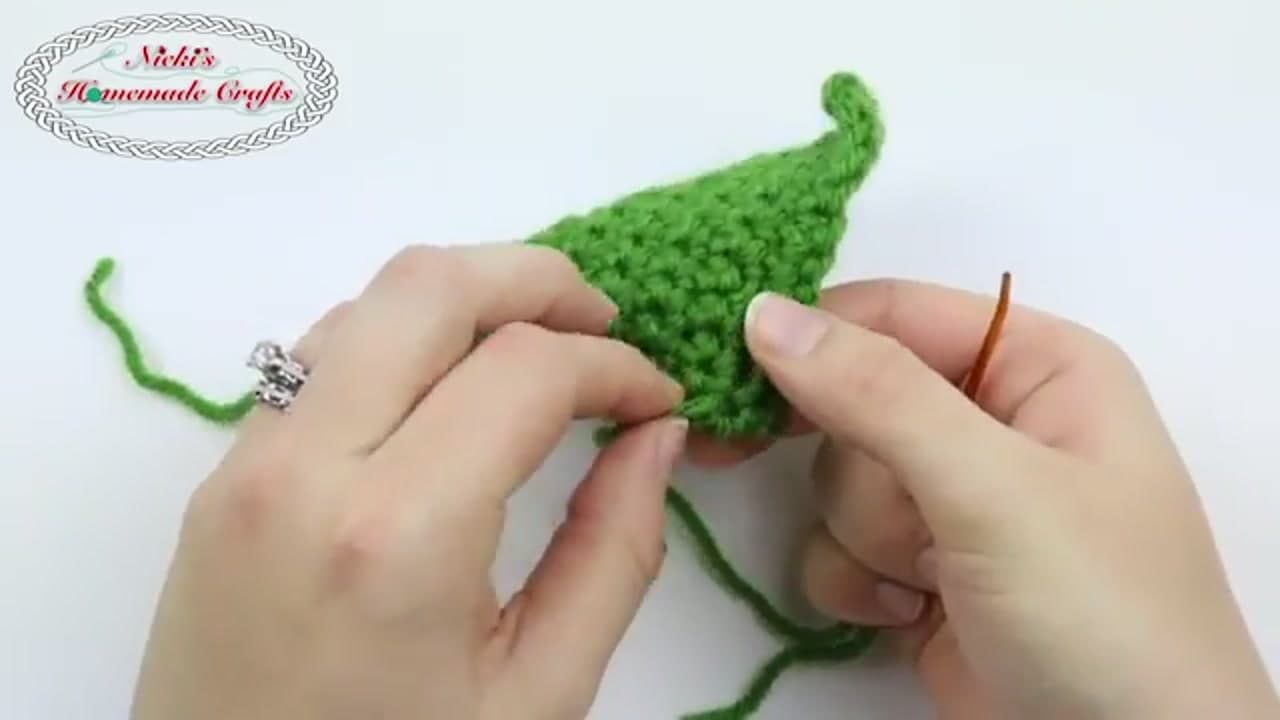
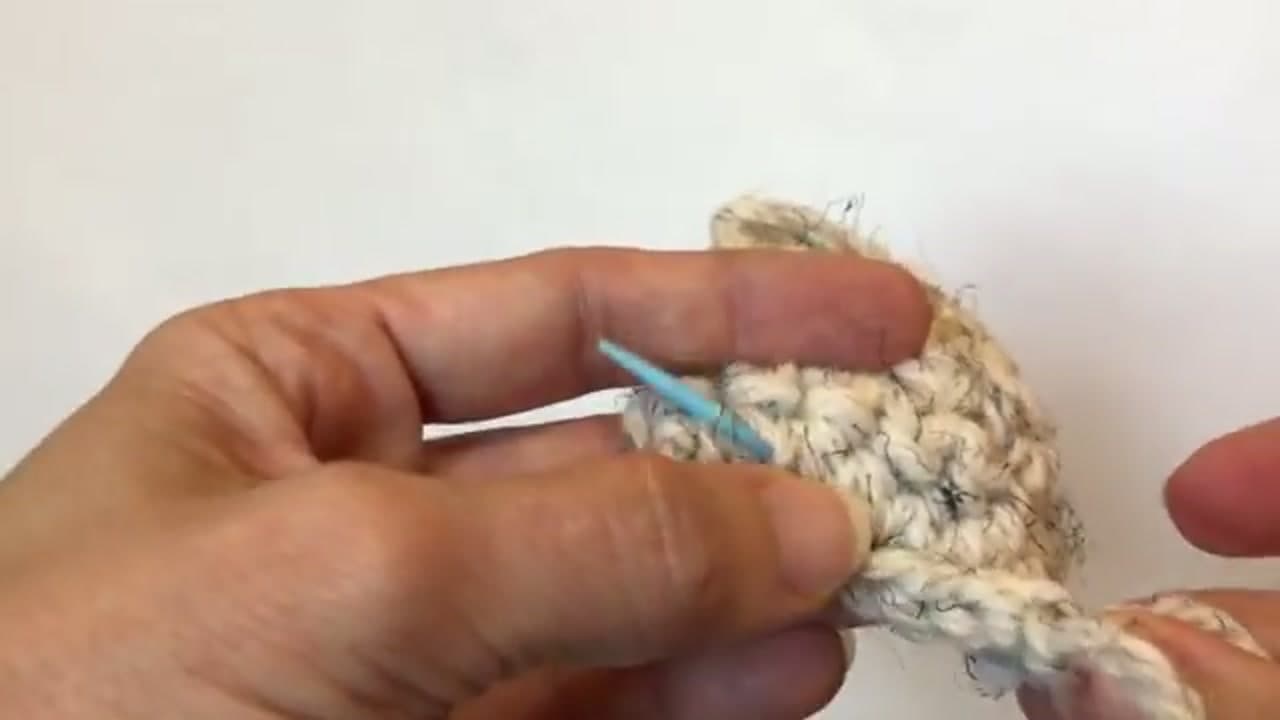
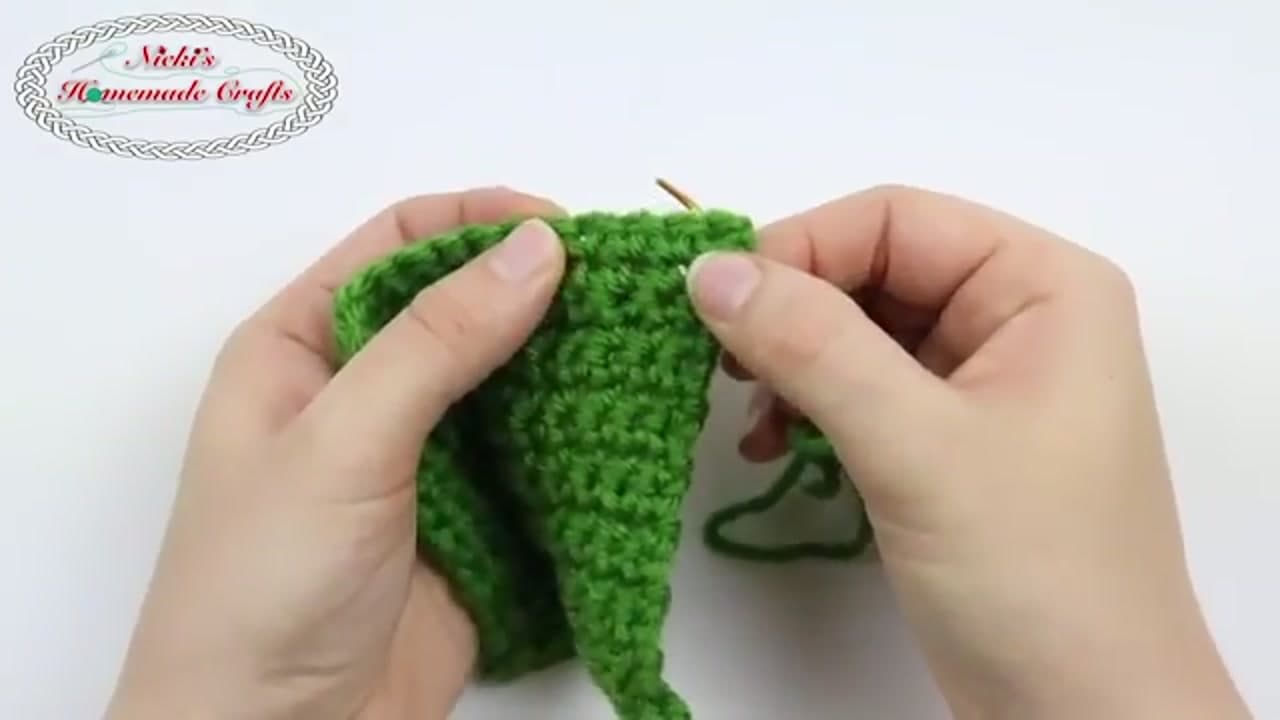
    Now reverse direction. Shift the needle over by one stitch and weave back the way you came, running parallel to your first pass.

    This is the move that locks the end in. Yarn that travels only one way can wiggle loose, but a yarn that doubles back has to fight friction in two directions. Take it slow and keep your tension light. You should still see the V of each stitch on the front of the work.

    Tip:

    Flip the work over after each pass and check the front. If you see the tail color bleeding through, ease off the tension and shift over another stitch.

    Back to all steps

  4. Step 4: Drop a Row and Zigzag Again

    Watch this step · 1:50

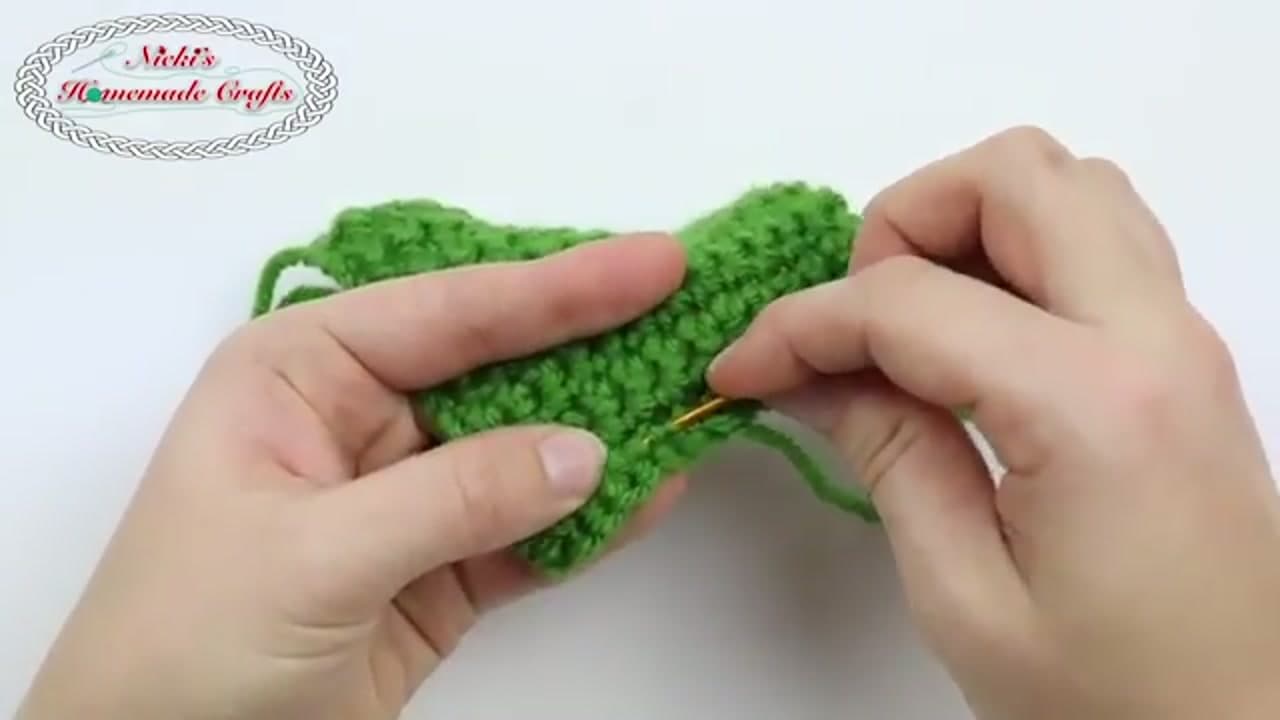
    Drop down one row and run the needle through a third path, then shift over and zigzag back one more time. You will end up with a small back-and-forth ladder hidden inside the fabric.

    Four short passes is the sweet spot for worsted-weight yarn in crochet or knitting. Any less and a stubborn tail can creep back out in the wash. Any more and you will feel a stiff lump on the wrong side of the piece.

    Tip:

    Heavier yarns like chunky or super-bulky only need two or three passes. Lace and fingering weight need five or six because the tail has less friction to grab.

    Back to all steps

  5. Step 5: Trim Long, Then Stretch the Fabric

    Watch this step · 2:13

    Give the tail one last gentle pull so a tiny bit extra sticks out past the fabric, then snip it close with sharp scissors. Do not cut flush yet.

    Now stretch the piece in both directions like you are blocking it. That short tag end you left will pull itself back inside the stitches and disappear. If any yarn still pokes through after stretching, tug the fabric again. The tail should retract on its own.

    Tip:

    Sharp embroidery scissors give you a cleaner cut than fabric shears. A clean cut tucks in flush, while a frayed cut wants to fluff back out.

    Back to all steps

  6. Step 6: Split the Plies for a Stronger Finish

    Watch this step · 2:34

    For a stronger finish on plied yarn, untwist the tail and separate the plies before you weave. Nicki uses four-ply, so she splits it into two pairs. Thread each half onto the needle one at a time and weave them through different tunnels in different directions.

    Splitting the tail spreads the bulk and makes it nearly impossible for the end to unravel as a single strand. Trim and stretch the same way you did before so each piece hides inside the fabric.

    Tip:

    Use this method on heirloom pieces, anything that will be machine-washed often, and on slippery yarns like cotton or bamboo that fight back against a single weave.

    Back to all steps

How to Crochet Amigurumi: 5 Beginner Skills That Make Any Plushie

Keep going

How to Crochet Amigurumi: 5 Beginner Skills That Make Any Plushie

You reached the last step

Save this project to come back to it

Your ticked steps, the free printable and your other saved makes, together in My Projects. Free, no password.

You tapped Save

Save this project for later

We'll email you a link, no password.

How to Weave in Ends (Crochet and Knitting Method That Never Comes Undone)

  • Your saved projects in one list
  • Your ticked steps on any device

Check your inbox for an email from us. Not there? Look in your spam folder.

Free printable

Printable sheet for this project

The bonus is hidden until you sign up.

Free with a free account, no password. Every step above stays open to everyone.

Products Used

The Checklist

How to Weave in Ends (Crochet and Knitting Method That Never Comes Undone)

Tools
2
Materials
1
Steps
6
Video
5 min

Tools we recommend

As an Amazon Associate we earn from qualifying purchases. Links on this page may be affiliate links - clicking them and buying doesn't change your price, but helps support Crafting Step by Step.

Tags

The Crafter's Weekly

New crochet tutorials, every Sunday

One short email with the week's best step-by-step guides. Free, no spam, unsubscribe anytime.

Test your knowledge

Did the lesson stick? Start with this one.

5 questions covering what you just read. No signup, no score saved, and you can stop after this one.

Question 1 of 5

Why use a BLUNT-TIP tapestry needle?

Quick reference

Key takeaways from How to Weave in Ends (Crochet and Knitting Method That Never Comes Undone)

5 questions, answers, and one-line explanations. Tap to expand.

  1. 1.Why use a BLUNT-TIP tapestry needle?

    Answer: Slides between plies

    Slides between yarn strands instead of splitting them. Sharp needles snag and weaken the fabric over time.

  2. 2.Path the needle takes through stitches?

    Answer: Through stitch tunnels

    Inside the body of stitches, not stabbing across the top. Stay inside matching color if there are color changes.

  3. 3.Key locking move that prevents unraveling?

    Answer: Reverse direction back

    Yarn going one way can wiggle loose. A tail that doubles back has to fight friction in two directions.

  4. 4.Sweet spot for number of passes on worsted-weight?

    Answer: Four short passes

    Any less and the tail creeps back out in wash. Any more = stiff lump on the wrong side.

  5. 5.How do you make the trimmed tail disappear?

    Answer: Stretch the fabric

    Leave tiny tag extra, then stretch the piece in both directions like blocking. Tag end pulls itself back inside the stitches.

Did this work for you?

What's next

Related collections

Curated theme pages that include this tutorial.

Similar tutorials

Hand-picked next reads based on the one you just finished.

Liked this crochet tutorial?

Pick the crafts you want to hear about. One email every Sunday with new step-by-step tutorials. No spam, easy to unsubscribe.

Get more like this in your inbox

Weekly digest. Pick the categories you want. Unsubscribe anytime.

Send me tutorials about

We only email about new tutorials. Easy unsubscribe anytime.